Sometimes I find mattes at garage sales and can't resist buying them because mattes in the store are kind of pricey. Usually I find dark green or some other color that I don't have anywhere in my house. For my daughter's room, which is light green and pink, I purchased scrapbook paper and Mod Podged it onto the ugly colored mattes, tying in her colors. (There aren't before pics - I did this ages ago before I was concerned about that - and they're a little blurry.)
Monday, June 25, 2012
Monday, June 11, 2012
Family Silhouettes - out of an old waterbed and scrapbook paper
| It looked a little like this - gargantuan and dark. |
It looked much like this.
I don't have a before picture or even much of a tutorial. I just used the same scrapbook paper that I used for my necklace holder and traced each of our profiles.
Then Mod-Podged them onto some brown scrapbook paper and duct-taped them to the back of the doors. The doors we had painted white with the rest of the bed to make it seem a little less imposing. For the frames I thought I wanted them to be wood, but as I sanded them down I liked them just like that. They don't have any top-coat or anything, just slightly sanded and done!
Tuesday, June 5, 2012
Armoire before and after
We were told by an antique store that the elderly couple in a house 2 doors away were selling alot of their furniture so we should check there. They were wonderful and actually did have an armoire (which they were excited to sell to us because "it would be so perfect for a little girl's room". Obviously we didn't have the heart to tell them that it would not be for her little dresses, but that we would take out the innards and add shelving.
It worked wonderfully for a long time and suited our needs perfectly: nice isn't it?
BUT my whole house kind of has that cottage - beachy kind of feel to it and the red wood color was just not working for me anymore. I also wanted to figure out how to have music come through the speakers without having the doors open.
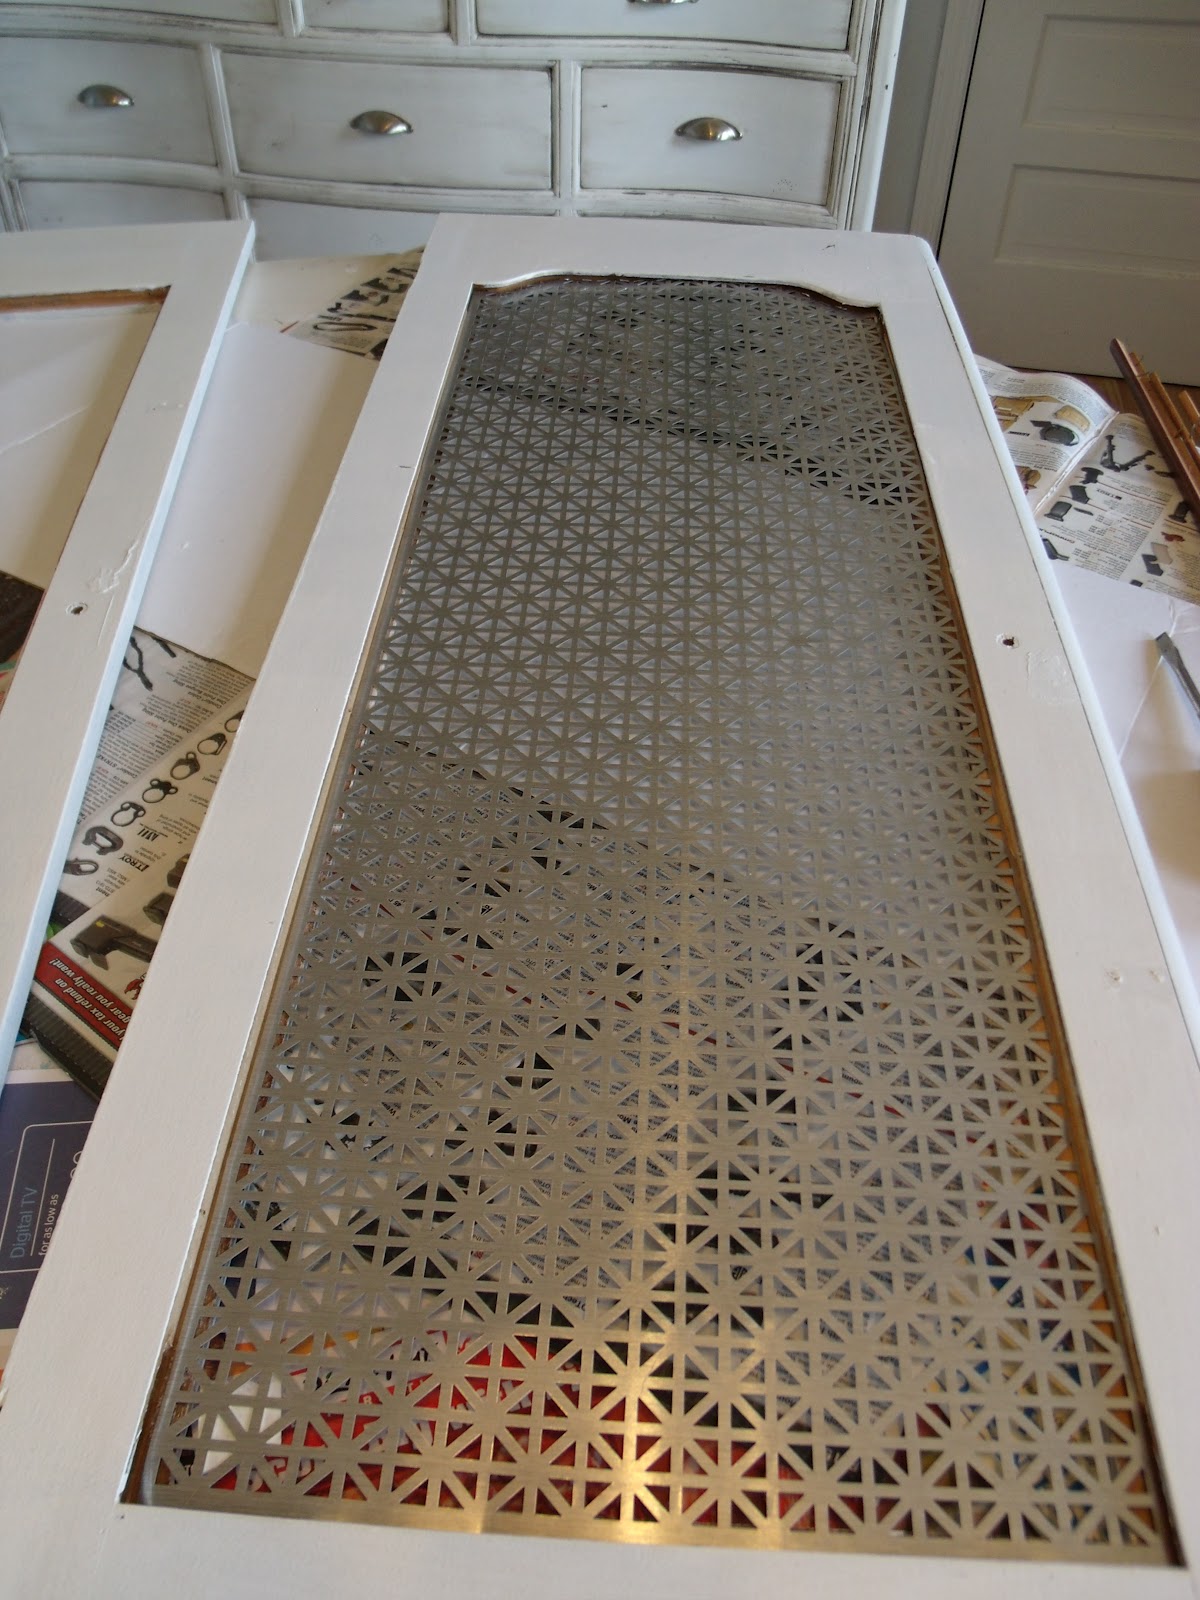
I had seen an episode of Design on a Dime where one of the designers took some plexi-glass and put it in something like this and thought I could also do something like that and drill holes where my speakers were. Unfortunately, Lowe's failed me and didn't even carry plexi-glass (still not sure where you'd get it - Hobby Lobby?)! Anyway, a man who worked at Lowe's led me to some metal sheeting and we figured it may work (it was pricey though - about $26 for one piece).
Luckily the one piece of sheeting was enough for this project. Warning though: don't leave the sheeting in your car and have someone load a chair you plan to refinish on top of it - it bends easily and it is hard to get it flat again.
Obviously I'm a little chatty today but here's the project:
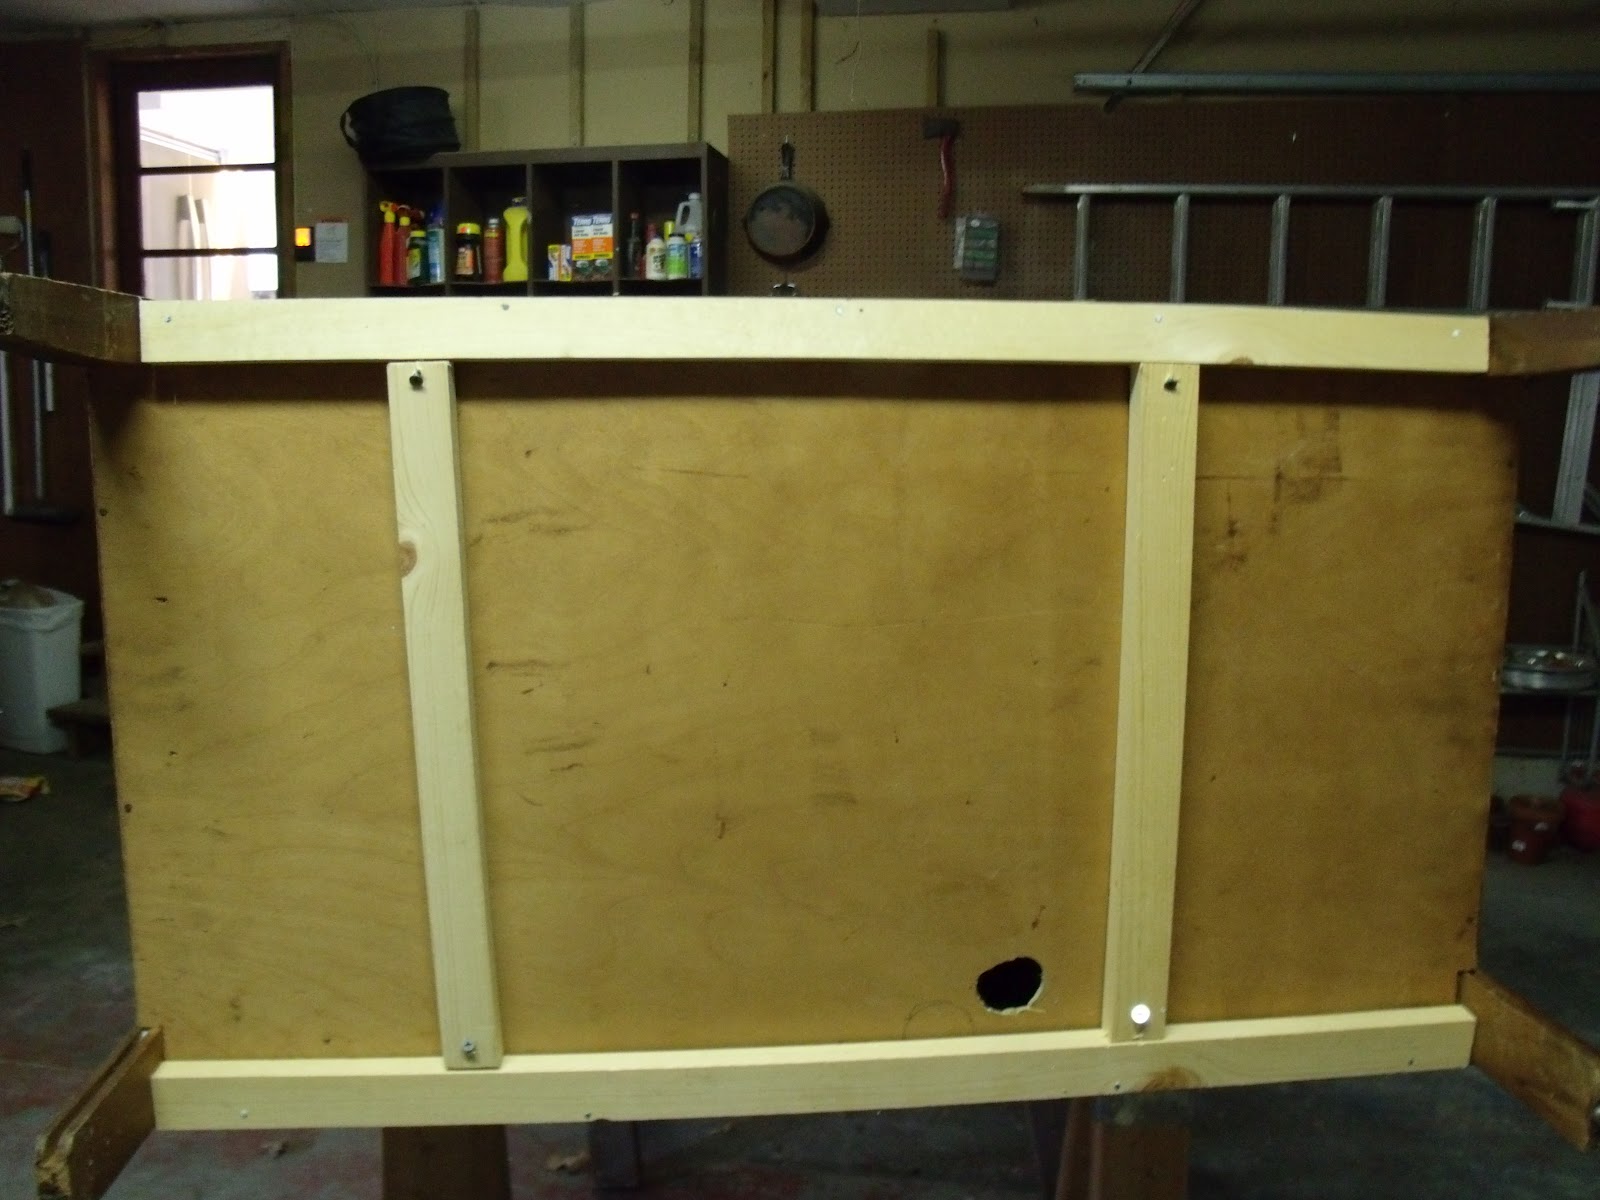
| Flimsy bottom piece |
| and it's coming apart |
| facade piece that was wasted space! |
| Reinforced bottom with 1 x 2 |
| turns out it was REALLY hard to smash out with a hammer! |
| The inside; finally putting putty on the pieces we added 10 or so years before | . | I took the panels out and got it ready for paint. |
| Tracing the wood panel with a sharpie onto the sheet metal. |
| place in the painted wood doors |
| Cut with tin sips (the cut pieces were very sharp) |
| Actually this still needs some work - it's a little uneven from where I smashed it with the hammer and I need to take a saw to it. |
Tuesday, May 15, 2012
Lovely Child's Picture Keepsake
My brother and his wife are expecting their first baby fairly soon and were given a shower this past Saturday. I wasn't able to make it (they live about 8 hours away) but wanted to contribute, so I volunteered to make some party favors and a "wishes for baby" album. I'm not sure where those originated but I got the questions for mine off of this website.
I found a generic and pretty plain, but nicely purple, photo album at Michael's for only $1.75. I was just going to keep it purple since they are having a girl, BUT it was, like I said, pretty plain and the party theme was vintage and books - or something like that and this purple wasn't vintage or, other than it's shape, bookish.
| See, plain purple. |
| I peeled away the seams of the black cover paper on the inside of the photo book to get ready to put the fabric there and still be able to have a nice finish after. |
| Covered my space and the window of the photo book with newspaper and sprayed it with Elmer's craft spray glue. |
| After I got the front and the back centered, I cut a bit more fabric off so it would fit nicely under the black fabric that originated in the book. |
| Folding the corner and putting the black fabric back into place. |
| Glued the black fabric into place. |
| Here was another part that took some thought; how to get the fabric to tuck in nicely into the window. The backside of a craft knife worked great! |
| But the flap didn't look right, so I placed a button on. I wanted 3, but I only had 2 of the green in the toile and one of the tan buttons. It turned out nice anyway. |
Tuesday, May 8, 2012
Chunky Frames
I wanted some frames that were a little more fancy than the ones I could buy at Wal-Mart, but don't really want to spend the money on fancy, chunky frames from other, high-end stores. So, for this post, because I forgot to do a before of the chunky frames I had on hand, I headed to my local thrift store and bought two frames: a fancy, filigree one for $.99 and a larger raised one for $1.99. I have plans for three of the chunky frames which I will post about later.
| Finished frame (meh, the picture doesn't fit - I'm still deciding which picture to put in there.) |
| Make sure the two frames you purchase fit together nicely. |
| Frame one, I chose an 8x10 size with raised wood, to match the other two frames I've already made. |
| Frame two, I got a 4x6 size with the filigree on the outside. |
| I usually don't worry about sanding or priming my frames since they don't get the wear that furniture would. Spray paint your chosen color (I'm pretty boring and use white A LOT!). |
| I like to use this antiquing glaze to add depth and interest to the frames. |
| My tool of choice to apply the glaze into the grooves. |
| Coat it pretty well, then wipe away with a damp cloth. You'll have some time and room for error and reapplication, so have fun with it! |
| Small frame finished. |
| Big frame finished. |
| I used super glue to put the two frames together, I didn't want my frames to fall apart while hanging on the wall. (With a glue gun that may have been the case.) |
Wednesday, May 2, 2012
Job Charts
When I was a little girl, my siblings and I had a few different job charts. But my favorite one was on a board with hooks where we could turn a picture of the job over when we had finished it. I loved the feeling of satisfaction I got when I had completed the job and got to turn over the picture.
I have a smaller house (though it's sufficient and I love it!) And the wall space in my home is already covered with things that I wouldn't mind the world seeing, but I didn't want the job chart to be in the living room and I don't have wall space in the kitchen, BUT I needed the charts to be in an easy location for the kids to be able to see it and use it daily. So I took some left over 1x4s and painted them to match the kids' rooms. Then printed their names on the computer and colored them in to match the rooms too. Covered it with Mod-podge and attached the hooks. The pictures I drew by myself (which is another thing I loved about my mom's version - that they were little art pieces done by her) and had them laminated.
Subscribe to:
Posts (Atom)