After having one little toddler around and tending another, my husband and I quickly realized that it was a good idea to have the VCR (remember those?) covered. And dare I admit that we had purchased a book on Feng Shui which had said something about keeping the tv covered?! Anyway, when I was pregnant with my 2nd, my husband and I went on a search for an armoire to house our tv, vcr and music equipment.
We were told by an antique store that the elderly couple in a house 2 doors away were selling alot of their furniture so we should check there. They were wonderful and actually did have an armoire (which they were excited to sell to us because "it would be so perfect for a little girl's room". Obviously we didn't have the heart to tell them that it would not be for her little dresses, but that we would take out the innards and add shelving.
It worked wonderfully for a long time and suited our needs perfectly: nice isn't it?
BUT my whole house kind of has that cottage - beachy kind of feel to it and the red wood color was just not working for me anymore. I also wanted to figure out how to have music come through the speakers without having the doors open.
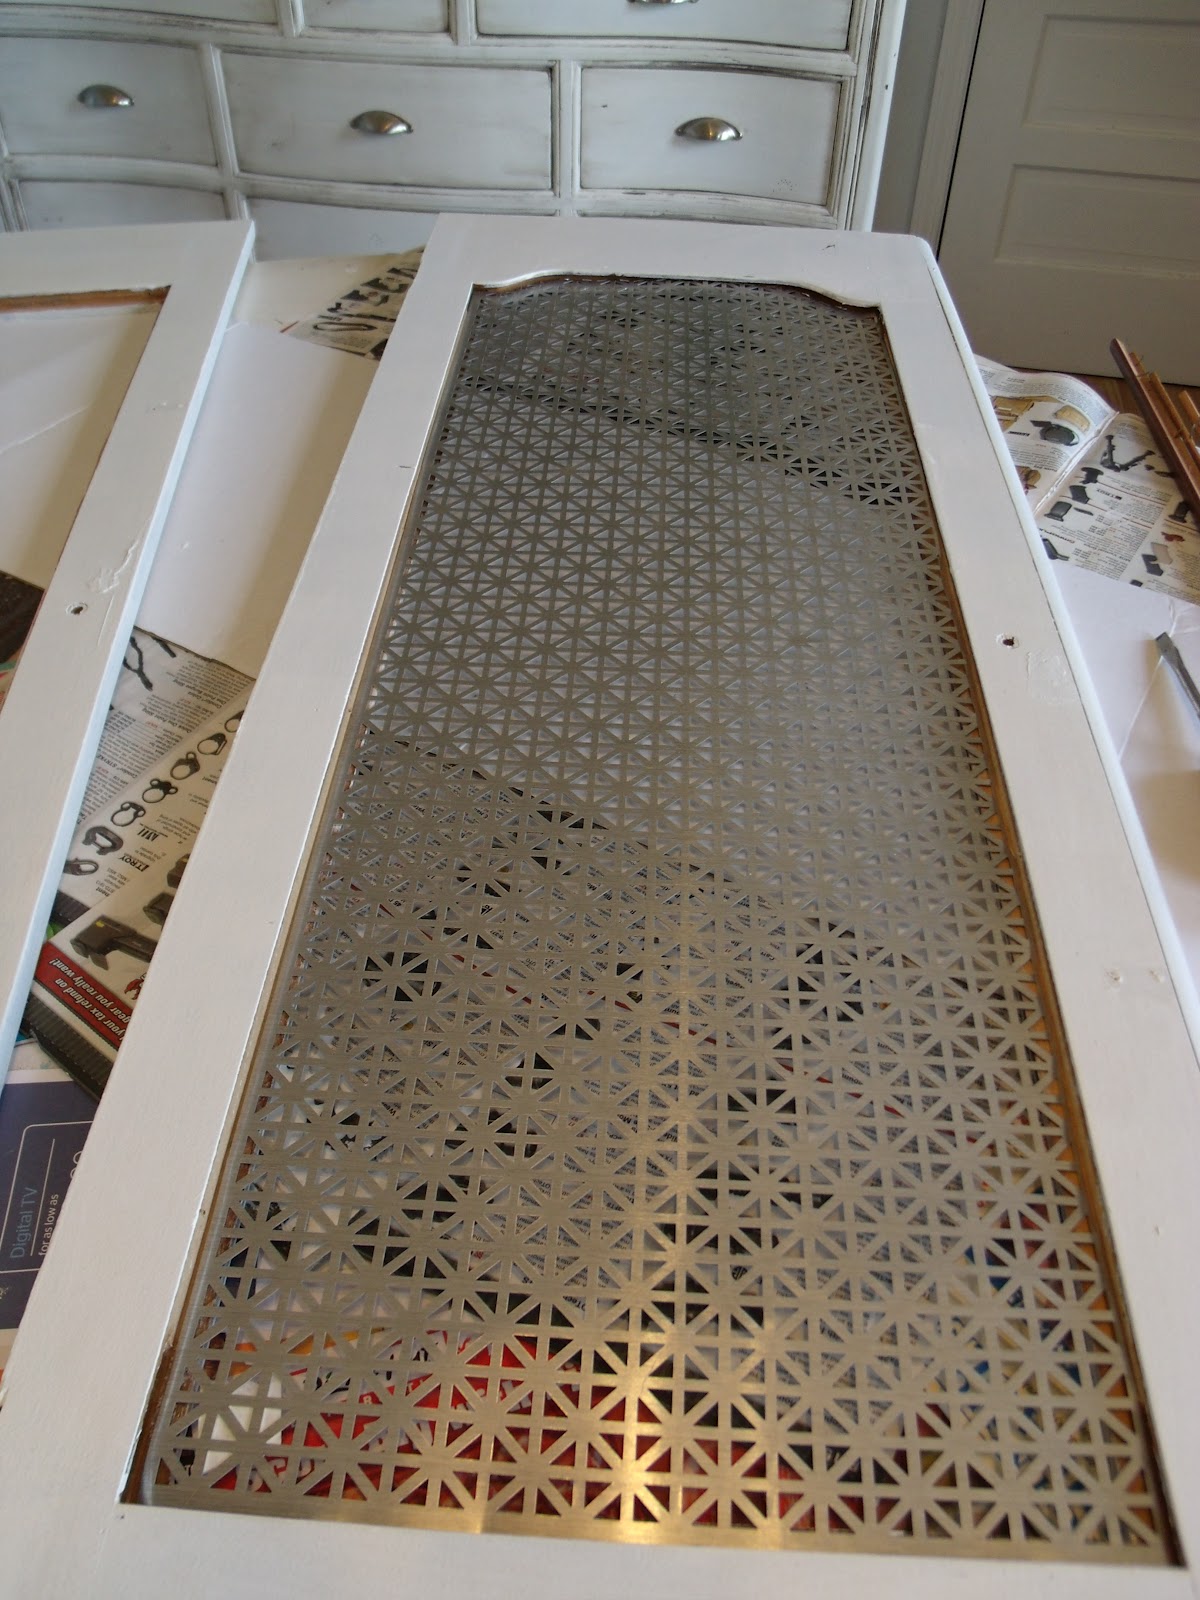
I had seen an episode of Design on a Dime where one of the designers took some plexi-glass and put it in something like this and thought I could also do something like that and drill holes where my speakers were. Unfortunately, Lowe's failed me and didn't even carry plexi-glass (still not sure where you'd get it - Hobby Lobby?)! Anyway, a man who worked at Lowe's led me to some metal sheeting and we figured it may work (it was pricey though - about $26 for one piece).
Luckily the one piece of sheeting was enough for this project. Warning though: don't leave the sheeting in your car and have someone load a chair you plan to refinish on top of it - it bends easily and it is hard to get it flat again.
Obviously I'm a little chatty today but here's the project:
 |
| Flimsy bottom piece |
 |
| and it's coming apart |
 |
| facade piece that was wasted space! |
 |
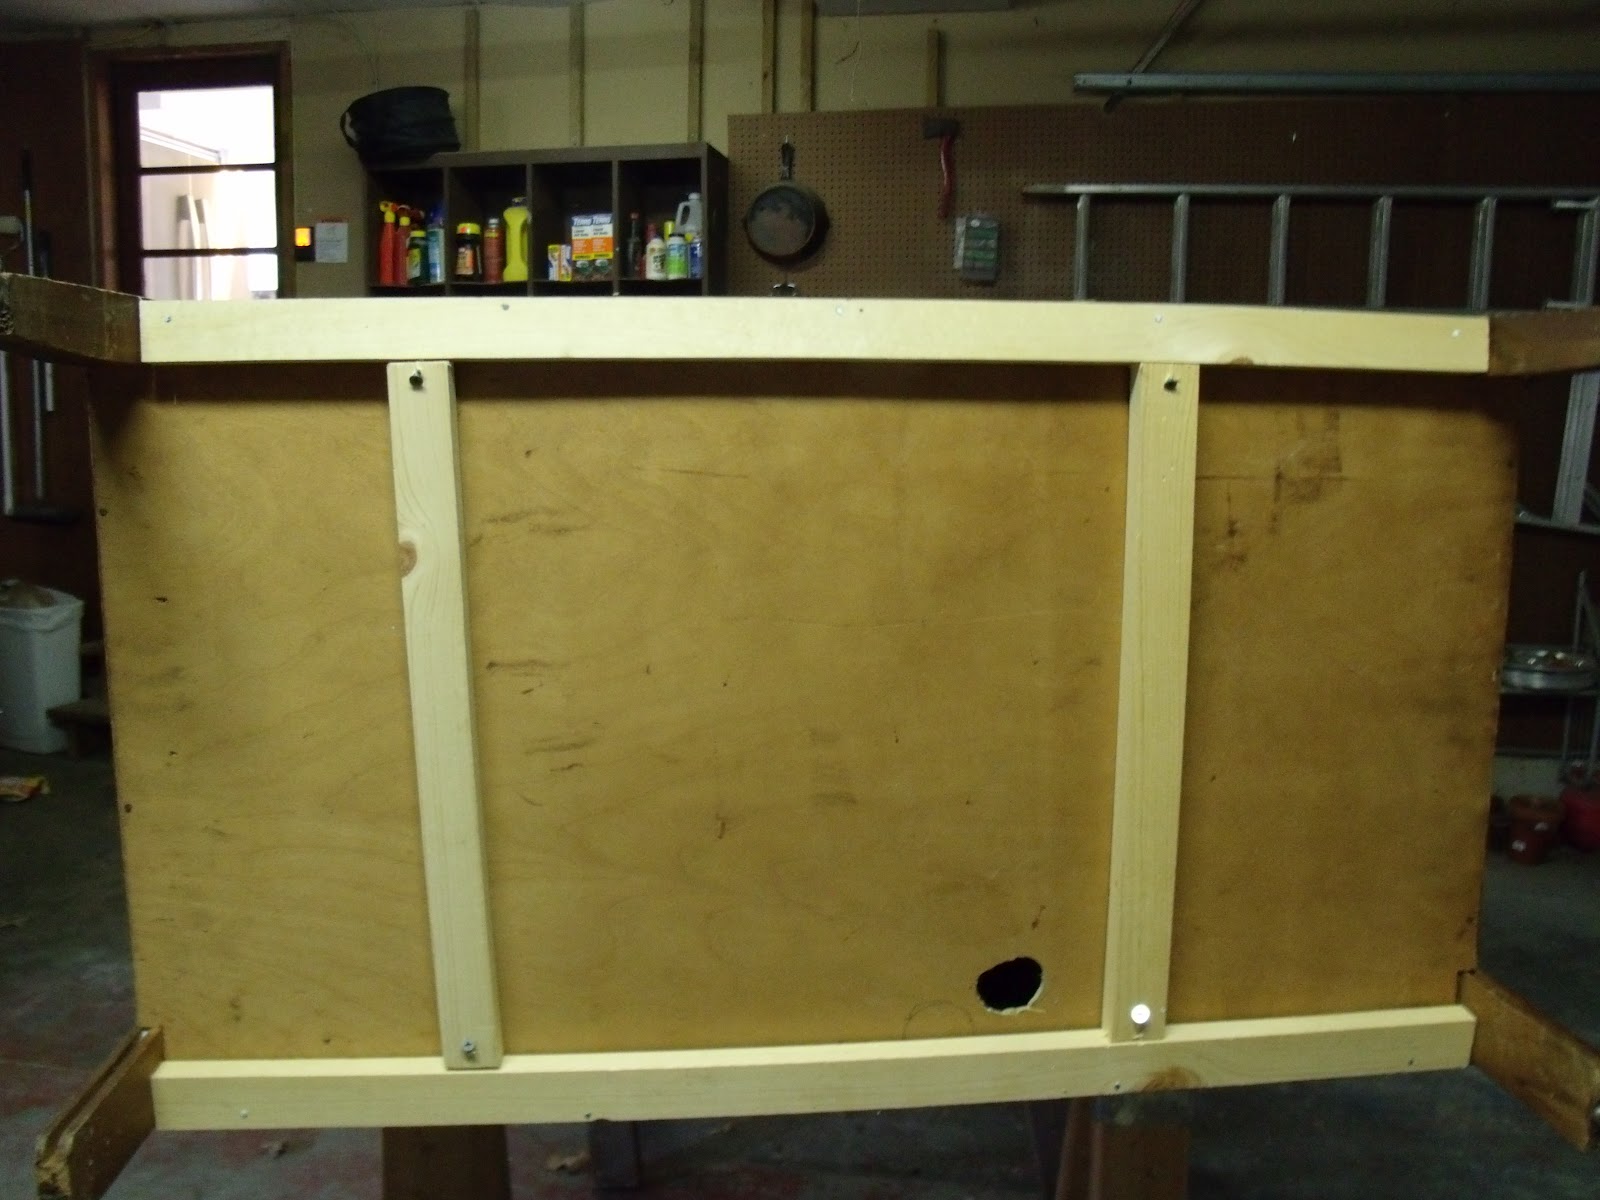
| Reinforced bottom with 1 x 2 |
 |
| turns out it was REALLY hard to smash out with a hammer! |
 |
| The inside; finally putting putty on the pieces we added 10 or so years before |
| . | I took the panels out and got it ready for paint. |
 |
| Tracing the wood panel with a sharpie onto the sheet metal. |
 |
| place in the painted wood doors |
|
 |
| Cut with tin sips (the cut pieces were very sharp) |
 |
| Actually this still needs some work - it's a little uneven from where I smashed it with the hammer and I need to take a saw to it. |