Wednesday, September 19, 2012

Dresser to Entry Shoe Storage cabinet

Years ago my father-in-law suggested building a half-wall in our entryway.  I was hesitant to do so because I thought it would make our small living room look smaller.  I've changed my mind and decided that he is an architect and probably knows what he's talking about.  BUT, now our building projects are pretty much finished and... I don't know, I just don't think we'll ever actually build a half-wall there now.  So, when my son's dresser was not working for him because the drawers were too big and bulky, and when I found this feminine one at Salvation Army. 
Deciding it was fit for my daughter, I then gave the my son flowery one which was mine when I was a child. (Of course we painted it a more suitable color for him.) 

And what did I do with his old, horrible one? (Which I got on Craigslist, BTW - always check the drawers before purchasing! - it was a beautiful dresser, but only 4 drawers and the two bottom ones were terribly annoying.)
Well, I saw something like this on Pinterest, thought it was a brilliant idea and knew that this cute dresser could have a better use.
Here is the dresser after being in Max's room for a while (he's liking red with neon green currently).  See the drawer opening crookedly - grrrr.


Wonky drawers.


Checking to see if the basket will fit...nope!
Dresser after hammering the front strip of wood out.
Used some left-over wood for a computer desk we're building that we cut incorrectly.
Measure Twice, Cut Once!
Using a table saw is a more sure way to make straight cuts (than, say, a jig saw).
The leftover piece on this board is from the wood bucking.  Luckily this thought came to my mind before it actually happened: "the wood is about to buck back at you, so be ready".  It was a little freaky, but I was basically finished with the table saw.  To get the leftover piece off of the shelf base, I worked the side with a hammer and the sander.
Placing the newly cut piece in the dresser.
Since it was bowed a little, I screwed in the side pieces, then nailed around the rest of the edges.
Without the drawers the space in the back is very noticeable!
I decided to use the piece from the front of the original dresser (that I had hammered off) to fit in the back space (above).  Luckily all I had to do was cut off the little end there.
Just a note, clean the dresser of cobwebs before painting.  ;-)
Dresser/shelves being primed with paint.
With add weight for the shelf (since I want it to hold shoes) and only support on the sides, I felt it needed some support in the center. 
And Voila! A beautiful serene entry/storage table:


Tuesday, September 11, 2012

This one's not a tutorial, just fun stuff


I'm not sure if anyone else has been invited to a party that had a stipulation that if you came, you'd need to blog about it....but...it is worth it, my friends, IT IS WORTH IT!

My sister-in-law called to tell me that she had received some ponies from this company, Pony Royale, but she needed to get at least 3 other bloggers to attend.  Luckily for me, and my daughter and niece, we were invited!

I was picturing the cute little My Little Ponies (which I like), but when we got there the girls were enraptured by many kinds there were (one for each month of the year - with their own little story and birth 
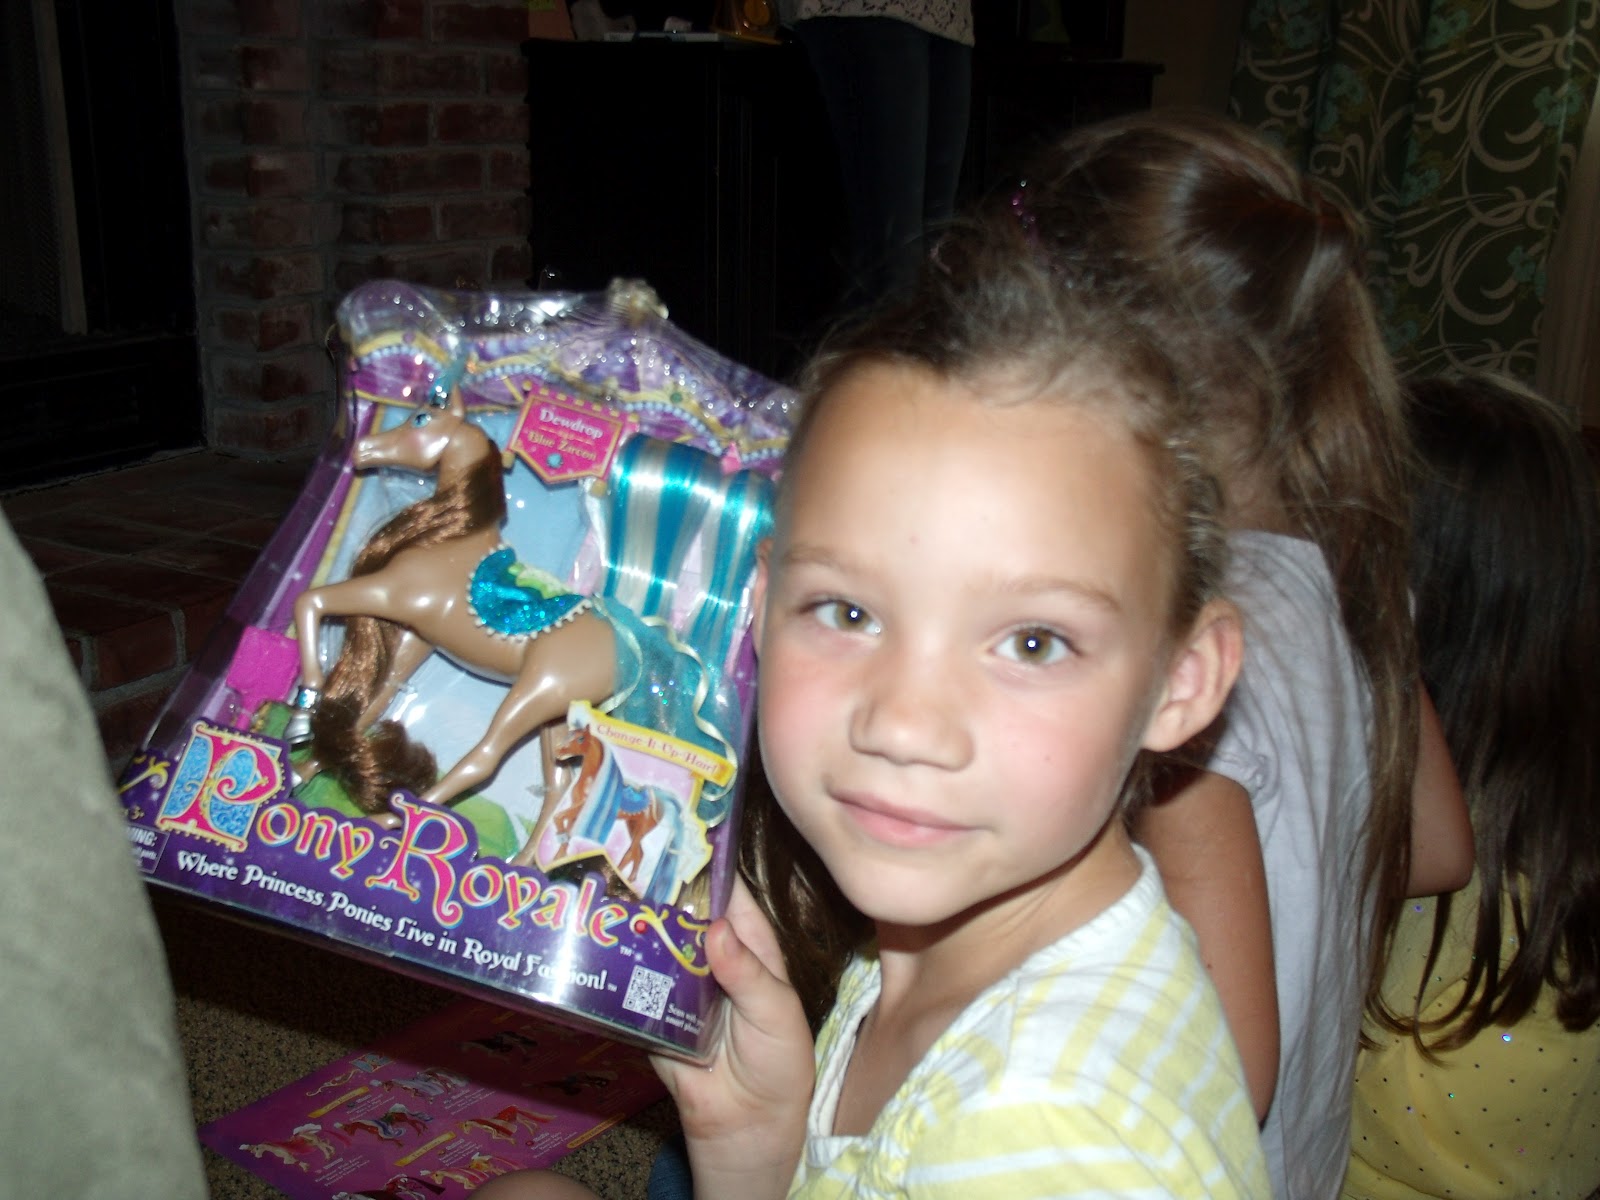
stone's to match).  I was excited that they looked like real horses and that their heads move.
Each pony came with it's birthstone on it's forehead and with matching headpieces, tails, manes and saddles.  But even nicer, is that they also came with coordinating colors as well, so that the girls could change out the blue tail (Dewdrop) with a more realistic-looking brown tail and mane.

The girls all loved and squealed with excitement when they chose their ponies.  But you can't see it in the pictures; I guess they were trying to pose nicely so you don't see the enthusiasm until they were caught playing. 

Deciding which one they want the most.

My niece, happy to show me hers.

My daughter, content with her selection.

Another niece showing me her new pony.

Changing out the mane - this is cool folks!

Choosing different tail to put on her brown pony.

See them lining them up?  They sat and played like that for a long time.