Saturday, April 21, 2012

Thrifty and Convenient Jewelry Holder

This is a super easy project and I have loved, loved, loved having it in my bedroom! I actually was not a big jewelry wearer, but I think part of my dislike of wearing jewelry was the hassle of having to find the right thing!   But no more.  No more pilfering through my jewelry box and untangling necklaces or just forgoing jewelry all together because it's too time-consuming to search for the right color or right style!  

Found one large piece of wood at the Habitat Restore for $3.  I cut it into three equally sized sections and sprayed the sides with silver paint (thinking I would have them visible). 

I found some scrapbook paper that corresponds with the curtains in my room and mod-podged them onto the boards.

I liked the edges covered with paper better.

Next I lined up the middle of each 16x16 paper as best as I could.

See, it's easy to do with little helpers!

The three pieces ready for drilling.
The metal in my bedroom is oil-rubbed bronze, but finding knobs at a good price in that color (since it's popular right now) is very difficult.  So, I spent a little over $3 for the oil-rubbed bronze spray paint and made my knobs matching.  I also found these knobs at the Habitat Restore, 20 for a little more than $5.

Finding the right spot for each knob.
Drilled the knobs into place and called it finished.


Sunday, April 15, 2012

Once an Ugly Black Desk, Now a Lovely Set of Bedside Tables


My neighbor was searching for some side tables for her new master bedroom.  Unfortunately, the wall her bed rests against is very small, so the size of the side tables also needed to be small but, as with all small spaces, there needed to be opportunities for storage and for function.
I found this ugly (and believe me it looks better in the picture than it did in person!) black desk waiting for the garbage truck and couldn't wait to get it home to cut it in two!:
1. I took out the center drawer and cut the top with my circular saw.
2. Then, since I don't own a router but needed to cover my not-so-straight cut and make the sides look the same all around, I purchased some of this:
 3. I wood-glued and nailed the pieces around the top and down the two sides.
4. I purchased the center medalions from Lowes; they were on sale for a little under 3 dollars each!
The knobs were from IKEA for just $1.99 for a package of 6.

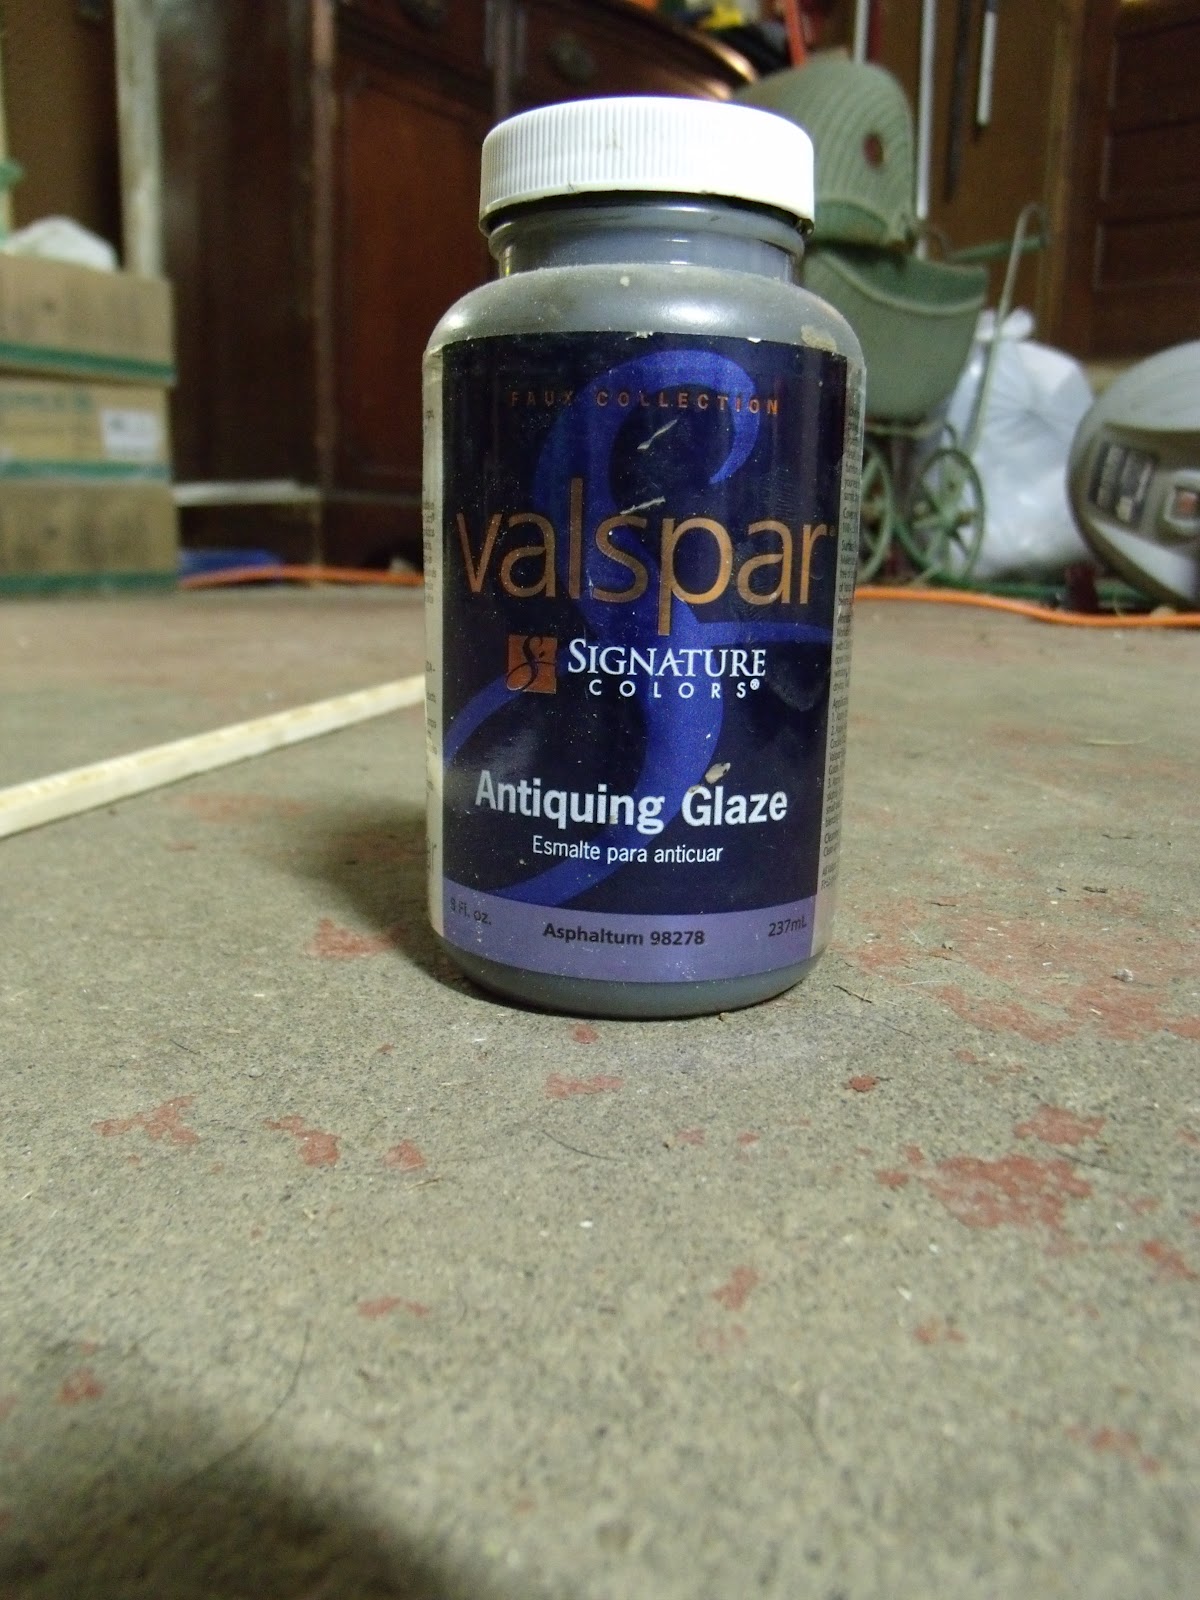
5.  I then painted them all white and highlighted the curves and details with antiquing glaze.  I use an old toothbrush and "brush" all the grooves, then wipe it off with a moist cloth until it is the desired look.   Then I sanded a few of the corners to give it more of a worn look.
6.  If I were to do it again, I would have put some of this wax on them for extra protection, but here is what they look like functioning in the room: