Let me tell you about these chairs which were the dreaded chipping cherry stain, but that, after a lot of work, were re-stained beautiful, dreamy Driftwood stain. My husband's mother was acquiring antique rose chairs for her kitchen and didn't want these anymore.
As you can see, the stain on them is pretty rough. I have 8 brothers-and-sisters-in-law so you can imagine the wear and tear on these chairs!
As I've mentioned before, cherry stain just isn't my favorite, yet lots of antique furniture is cherry because it was a very popular color due to it's richness. But since I don't like it, for a quick fix, I thought I'd just spray paint them. You know, because spray paint can work magic!
Unfortunately, in this case, due to the age of the stain and varnish, and the fact that it was chipping from years of use, the spray paint ended up showing all the chips and marks.
And although I used my trusty sanding deglosser, the paint still went on blotchily and just ended up not as attractive as I had hoped.
I like my paint to be smooth and not chippy, so it became a goal to strip the chairs entirely and start from scratch.
Ah, the look of paint ready to be stripped off! It's sort of liberating.
Little did I know the extent as to which I would have to go to get these babies smooth and pristine again! It was a trying project but in short, here are some things I learned while doing this lengthy project (I took the time, so hopefully, your project will go faster).
- Vintage varnish is very, very hard to get off - VERY! In fact, I pretty much was finished with trying to strip these four, when my far more studious and patient husband stepped in to help me finish this project - they'd still be sitting in the basement otherwise.
- After trying various strippers, we finally found one that worked amazingly: Tuff-Strip by Crown .
- We had tried Citrustrip, which is what I normally use; an acetone based stripper; a stripper specifically made for antique/cherry stain; but the one above worked the very best for these antique chairs!
- Most of the strippers say to let it sit for 10-15 minutes to allow it to work, but don't let it dry on there. We found that it dried faster than we could cover all four chairs. So,
- Do one chair at a time!
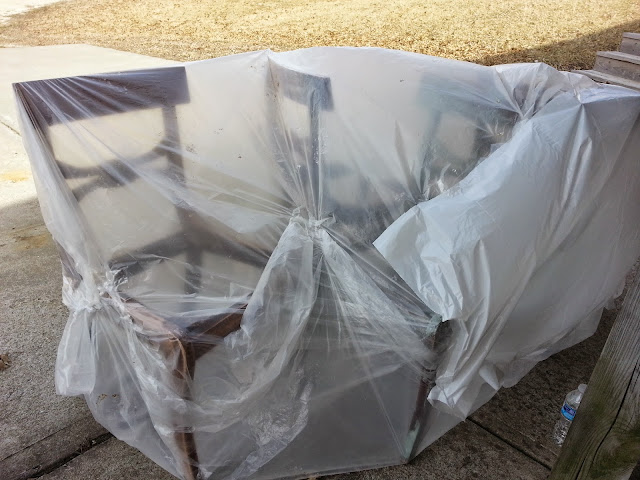
- We tried to cover the chairs with plastic so that it could sit longer with the stripper on it. But
- Plastic didn't work to keep it wet enough
Other things we learned:
- On old or soft wood, use a plastic stripping tool; we used metal and really gouged up the chairs in places!
- Use a fine grit sandpaper something like 220. We used 120, which is for fine, but I used my electric sander and it really ripped the wood up a bit. So, go easy on the sanding of older furniture.
- When applying strippers, it is a good idea to use thick gloves. The food-grade gloves I had fell apart completely while I was wiping the stripper onto the chairs.
- If you are trying to go for a lighter stain color from a red or dark stain, it is a good idea to bleach the wood after you've pulled off as much previous stain as you can.
- Then let the bleach and the sunlight work together to lighten the wood further.
- Don't hesitate to use toothbrushes, both to get the stripper in tight places, and then again to apply stain where your paint brush or staining cloth (an old sock) just can't get.


Wow, that sounds like a TON of work. Your finished product is fantastic!
ReplyDeleteThanks Jennifer! This is one project, I'm overjoyed to have finished! LOL!
Delete