

I LOVE Restoration Hardware! Or really I should say that I love window shopping at Restoration Hardware! My husband and I were out window shopping for our anniversary and decided to browse around to find ideas for our new house when I saw this beautiful Lorraine Chair! Isn't it dreamy? At least I think it is!

That is soooo out of my budget! Luckily, when my friend moved, she gave me a chair, that was similar to this one. It just needed some tender, loving care.


Take pictures as you go so you can refer back to them as needed.

Strip the wood.

I stripped the wood after I took off all of the fabric, but because I like to keep as much batting as possible (because it's a bit pricey), I may strip the wood first next time. This cotton batting kept getting caught in the stripping tools.

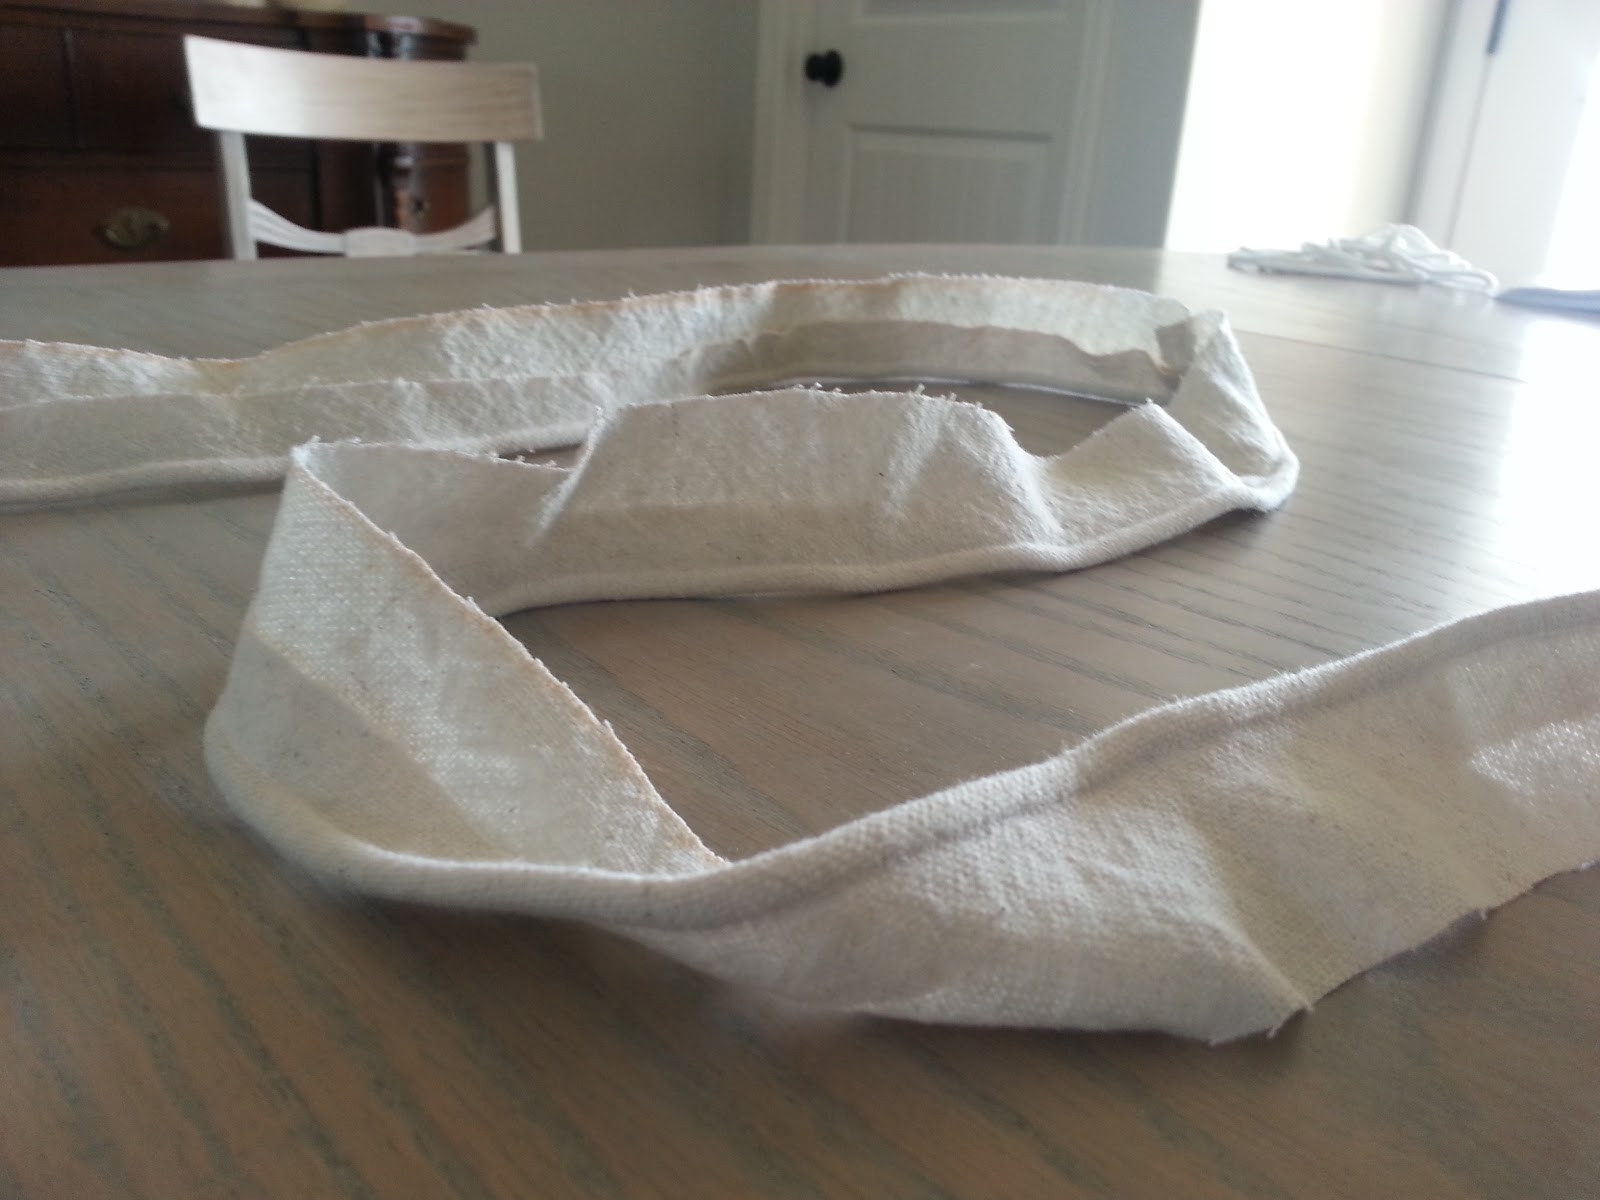
Use the old fabric as your pattern for the new. This allows you to not have to worry as much about measuring correctly; it's already been done for you!

Lots of people like to stick keep the insides of antique chairs the way they were originally. For instance, this chair had some horse hair and cotton batting as part of the cushioning. As much as I tried to keep the cotton batting in tact, life happens and sometimes batting gets messed up. I was happy to have this smooth polyester batting available instead. It was easy to apply and didn't bunch up like cotton batting. My fabric is also drop cloth, so it's much, much thinner than your average upholstery fabric and would have shown every dip and mottle of the cotton batting.

The "hard" parts of the chair also need some cushioning. Again, the cotton batting just didn't make it through two moves and just every-day life, so a little mixture of polyester and cotton works just fine.

And for the cushion, 1/4 inch foam batting - easy to cut to the desired shape and super easy to install with a staple gun.

The picture below is just illustrating all the staples involved in getting tight, smooth finish.

Then comes the finishing work (to cover the staples and make it look pretty).


Once the bulk of the chair is finished, you can start on the cushion. Truth be told, this is my least favorite part but that's only because sewing is tedious to me. It really isn't more difficult than the chair itself and actually takes less time than taking the old upholstery off of the chair.
Remember that you will be using the old fabric as your template here too.


See how it was sewn, where...

Compare lengths...

I use chalk a lot when upholstering because it is erasable and this particular piece is illustrating for me my sew-line. When you're matching the band and it's cording with the seat deck fabric, it gets tricky to keep the line straight. Drawing the sew line on the fabrics helps you to not have to pin (which is a hassle with such tight sewing) and to keep the sewing on track so that the finished product is very close to the cushion of the seat deck.


 |
| This is with the chair finished except for the cushion which, for company, was covered with an old sheet. |
RH Lorraine Chair $595 (on sale from $795)
No comments:
Post a Comment
Hi All,
I've had a few random people commenting not-so-nice content on my blogs so now you'll have to go through some comment moderation. But feel free to still leave comments if you'd like!
Thank you!
Krista